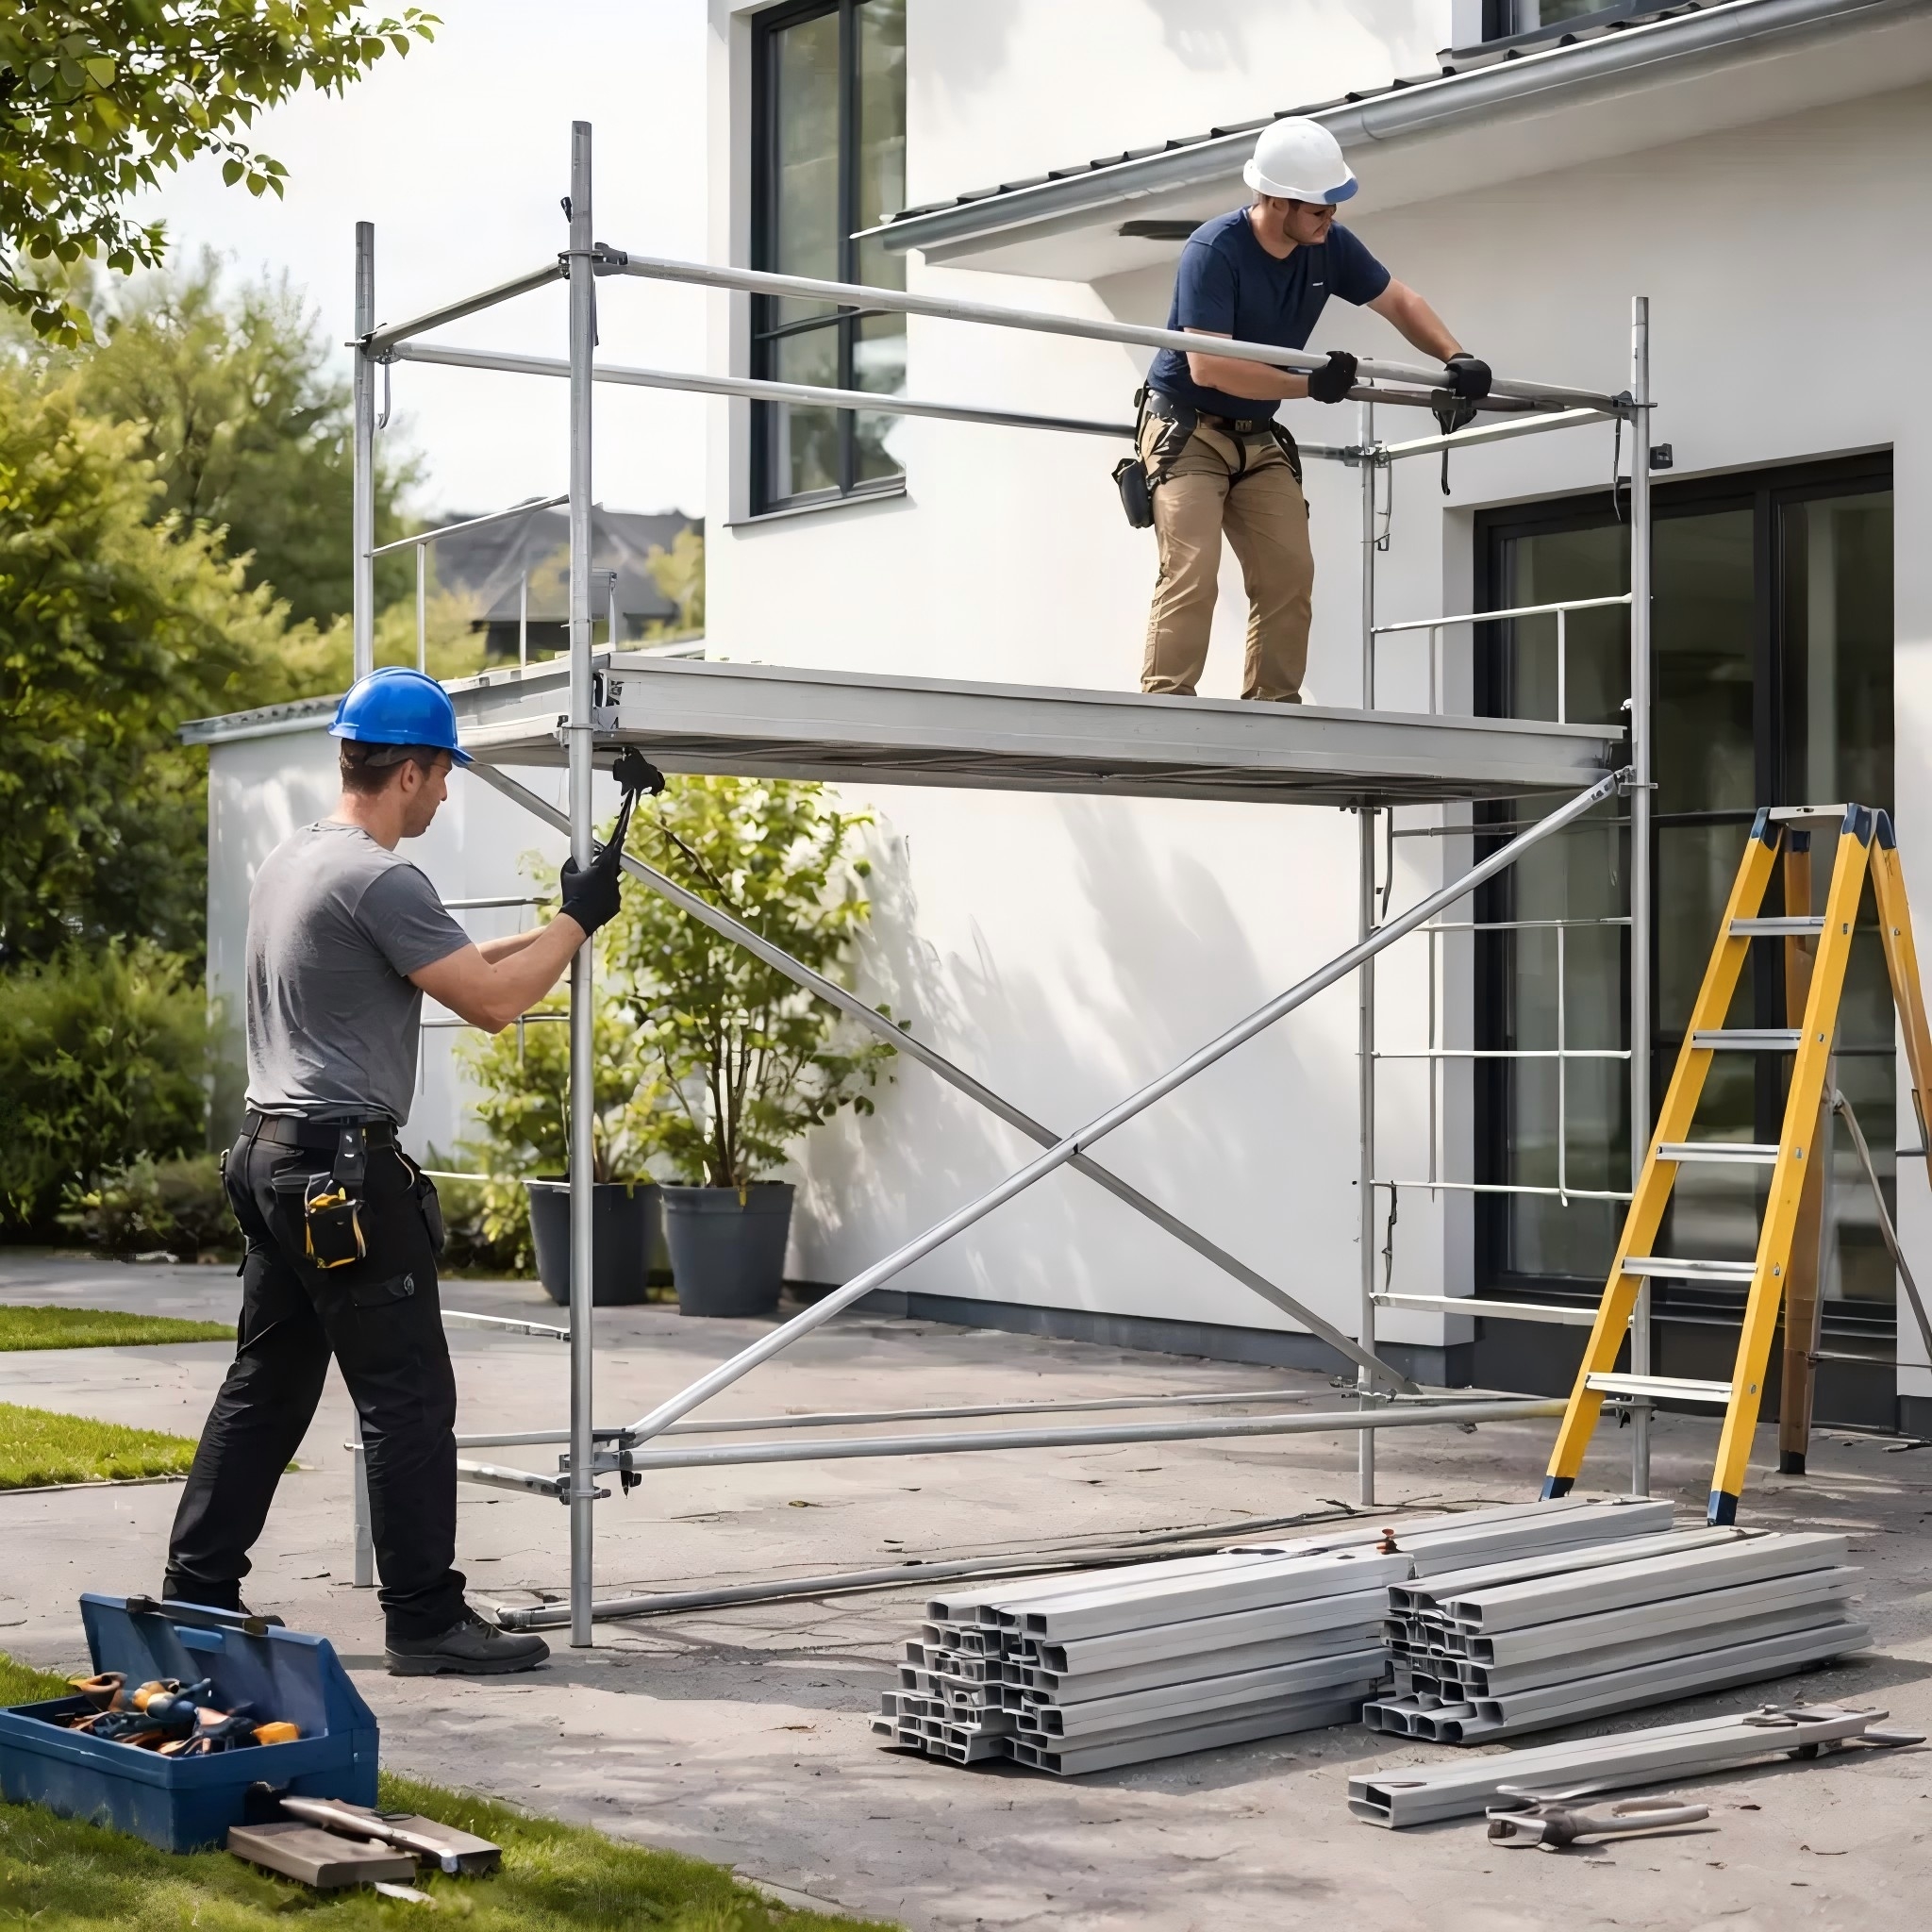
What Is Scaffolding?
If I need to work safely above ground level, I don’t improvise with chairs, ladders, or stacked materials. I use scaffolding — a temporary work platform built to give me a stable, safe, and practical place to stand while I work.
Scaffolding is used for jobs like:
- Painting exterior walls
- Brickwork and masonry
- Roof repairs
- Window installation
- Building maintenance
- Facade cleaning and renovation
A proper scaffolding platform makes it easier to reach higher areas, carry tools, and move around without losing balance.
Main Types of Scaffolding
There are several common types of construction scaffold systems, and each one fits a different job:
- Supported scaffolding – Built from the ground up with frames, poles, and scaffold base plates
- Rolling scaffolding – Has wheels, so it can be moved when designed for it
- Suspended scaffolding – Hung from a roof or overhead structure
- Frame scaffolding – A common choice for quick scaffold assembly and general repairs
- Modular scaffolding – Uses interlocking parts for flexible scaffolding setup
Why Scaffolding Is Better Than Improvised Platforms
A real scaffold is much better than a makeshift platform because it gives me:
- Stability – Less wobble and a firmer working base
- Safety – Better protection when working at height
- Accessibility – Easier movement across the work area
- Work efficiency – Faster work because tools and materials are easier to handle
Improvised platforms often fail under pressure, shift on uneven ground, or give poor footing. A properly built temporary work platform helps reduce risk and supports safer, smoother work.
If you want, I can write the next paragraph: When Do You Need Scaffolding?
When Do You Need Scaffolding?
I use scaffolding when I need a safe working at height setup and I want better control than a ladder can give me. A proper temporary work platform makes the job easier, steadier, and faster.
Common Uses
Here are the jobs where scaffolding setup usually makes sense:
- Painting exterior walls
- Brickwork and masonry
- Roof repairs
- Window installation
- Maintenance and cleaning
- Facade renovation
For these jobs, I need a scaffolding platform that lets me move, carry tools, and work for longer without feeling unstable.
Signs I Need Scaffold Assembly
I usually know I need a construction scaffold when:
- I am working at height
- The ground is uneven, soft, or sloped
- The project will take several days or longer
- I need to lift or use heavy tools and materials
- I need stable footing and free movement
- A ladder would slow me down or feel unsafe
If I’m doing repeated tasks, like painting or brickwork, scaffold assembly gives me better access and less strain.
Why It Helps
A good scaffold installation gives me:
- Better stability
- Safer access
- More room for tools and scaffold planks
- Faster work flow
- Less risk than improvised platforms
For global customers, this matters even more on mixed job sites, tight access areas, and small renovation projects where scaffold safety is a must. A proper DIY scaffolding guide always starts with knowing when the job really needs scaffold braces, scaffold guardrails, and a solid scaffold base plate setup.
Safety First Before I Make Scaffolding
Before I start any scaffold assembly or scaffolding setup, I check safety first. A temporary work platform only works well if the site is safe, the load is right, and the setup follows local rules.
Check Local Rules
I always look at local building and safety regulations first.
- Some jobs need permits
- Site rules may control scaffold installation
- Compliance matters for both home and commercial work
- Local rules can also cover height limits and access needs
If I skip this step, I risk unsafe work and costly delays.
Know the Load Limits
A scaffold must hold more than just me. I also count:
- My body weight
- Tools
- Paint, bricks, or other materials
- The full scaffolding platform load
I never exceed the rated capacity. Overloading a construction scaffold can make it unstable fast.
Check the Work Area
Before I build, I inspect the area around the scaffold.
- Ground stability: soft soil or weak ground can cause sinking
- Slopes: uneven surfaces need extra care
- Overhead hazards: watch for power lines, branches, or low roofs
- Weather: wind, rain, or storms can affect scaffold safety
A solid base is the start of safe working at height.
Wear the Right PPE
I always use proper personal protective equipment when handling scaffolding materials or using the scaffold.
- Helmet
- Safety boots
- Gloves
- Fall protection when required
Good PPE helps reduce risk during scaffold installation and daily use.
My Quick Safety Check
Before I move on, I make sure:
- The site rules are clear
- The load limit is known
- The ground is firm and level
- Hazards are removed or marked
- PPE is ready and worn
This simple check keeps the DIY scaffolding guide process safer and helps me build a stronger, more reliable scaffold base plates setup for the job.
Materials and Tools for How to Make a Scaffolding
If I’m building a scaffolding platform, I always start with the right scaffolding materials and basic tools. Good scaffold assembly depends on strong parts, correct sizing, and safe setup. Using the wrong items can make the whole construction scaffold unstable.
Basic Materials
For a solid temporary work platform, I use:
- Steel or aluminum pipes/frames for the main structure
- Scaffold planks or boards for the working deck
- Scaffold base plates to spread the load on the ground
- Couplers and clamps to lock the tubes together
- Diagonal braces to keep the scaffold firm
- Scaffold guardrails for fall protection
- Toe boards to stop tools and materials from sliding off
These parts are the core of any safe scaffolding setup. I always check that each item is in good condition before use.
Tools I Need
For a smooth scaffold installation, I keep these tools ready:
- Measuring tape
- Spirit level
- Adjustable wrench
- Hammer
- Safety harness
- Ladder
- Marker or chalk line
These tools help me measure, align, tighten, and inspect the frame properly. A small mistake in leveling can affect the whole scaffold safety setup.
Steel vs Aluminum
When I choose between steel and aluminum, I look at the job size and budget.
Steel scaffolding
- Strong and durable
- Better for heavy-duty work
- Usually heavier
- Good for long-term or large projects
Aluminum scaffolding
- Light and easier to move
- Faster to assemble
- Good for smaller jobs
- Often costs more than basic steel options
For most global home and light commercial jobs, aluminum is easier to handle. For heavy work or taller builds, steel often gives better strength and stability. I choose based on load, height, and how often I need to move the scaffold.
Quick Material Check
Before I start, I make sure:
- The scaffold base plates are flat and strong
- The scaffold braces are not bent
- The scaffold planks are dry and not cracked
- The guardrails fit tightly
- All couplers lock properly
This simple check helps me avoid problems later and keeps the safe working at height setup under control.
How to Make a Scaffolding: Step-by-Step Guide
Step 1 — Plan the structure
Before I start any scaffold assembly, I check the job first.
I plan:
- Height and width
- The full work area
- How many levels I need
- Where workers will stand and move
This helps me build a safer temporary work platform and avoid last-minute changes.
Step 2 — Prepare the ground
A scaffold is only as safe as the base.
I always:
- Clear the area
- Make the ground as level as possible
- Use sole boards or other base supports
- Avoid soft soil, loose gravel, or sloped ground
A firm base keeps the construction scaffold stable from the start.
Step 3 — Install base plates and frames
Next, I place the scaffold base plates and set the frames or standards.
I make sure to:
- Position the base plates correctly
- Stand the frames upright
- Align both sides evenly
- Double-check spacing before moving on
Good alignment makes the whole scaffolding setup easier and safer.
Step 4 — Add horizontal support bars
Then I connect the horizontal members, also called ledgers.
This step matters because it:
- Locks the frame together
- Adds strength
- Supports the working level
I secure every joint properly so the scaffold does not shift during use.
Step 5 — Install diagonal braces
I always add scaffold braces next.
These braces:
- Stop sway
- Improve rigidity
- Help the scaffold stay balanced
If the braces are loose or missing, the scaffold can move more than it should. I check the fit before going higher.
Step 6 — Place the working platform
Now I install the scaffold planks or boards.
I keep the platform:
- Flat
- Fully supported
- Free from gaps
- Strong enough for the intended load
A proper scaffolding platform gives me safe footing and better movement while working at height.
Step 7 — Add guardrails and toe boards
For scaffold safety, I do not skip this step.
I install:
- Top rails
- Midrails
- Toe boards
These help prevent:
- Falls from the platform
- Tools or materials dropping below
This is one of the most important parts of safe working at height.
Step 8 — Check access points
I make sure workers can get on and off the scaffold safely.
I check:
- Ladders
- Internal access points
- Safe climbing routes
Access should be clear, stable, and easy to use. A bad entry point can turn a good scaffold into a risk.
Step 9 — Inspect the entire scaffold
Before anyone uses it, I do a full scaffold inspection.
I check:
- All connections
- Frame alignment
- Braces and guardrails
- Platform support
- Load-bearing safety
I also make final adjustments if anything looks off. I never use a scaffold until it feels solid and ready.
Quick checklist
Before use, I confirm:
- The base is firm and level
- All frames are aligned
- Braces are tight
- Planks are secure
- Guardrails are in place
- Access is safe
- The scaffold is not overloaded
If I want reliable scaffold installation, I treat every step as important. Skipping even one can affect the whole structure.
Get a Quote & Price List
Tell us the product, quantity and destination port — a sales engineer replies within 24 hours.